
Social media platforms are often the first point of contact where many of your guests discover you. Crafting engaging content can help you attract and retain guests. While it might seem challenging, platforms like Instagram and TikTok offer easy-to-use templates that simplify the process of creating reels.
In this guide, we’ll walk you through a step-by-step process to create and post an Instagram reel using an existing Reel template.
Reel templates are predesigned reels that allow you to insert your pictures or videos and post quickly. Someone else has crafted the transitions and time clips needed to match the audio or transitions, making it easier for you to create engaging reels to help attract guests.
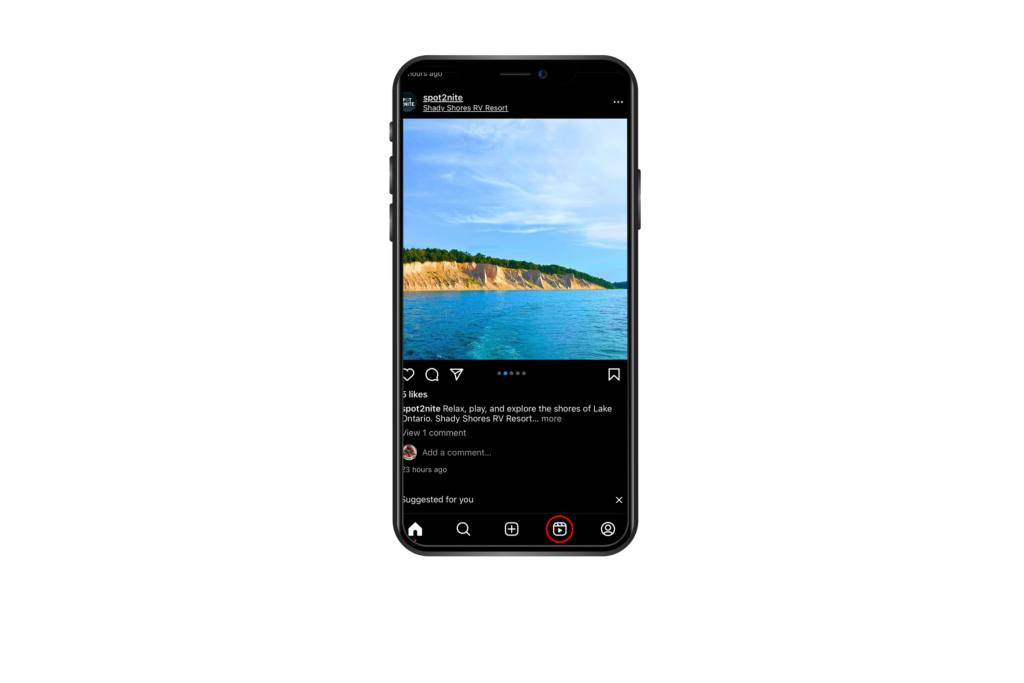
Launch Instagram and tap on the Reels icon at the bottom of your screen.
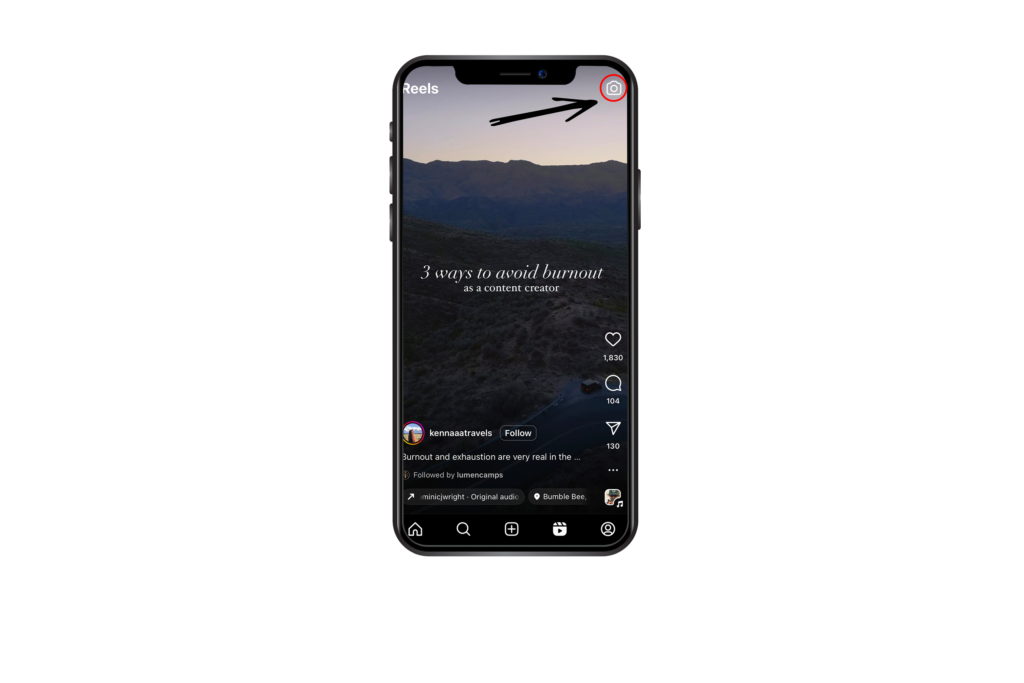
With Reels open, you’ll see a camera button in the top right corner of the screen. Tap this to open the creator dashboard, where we will begin building our Instagram reel.
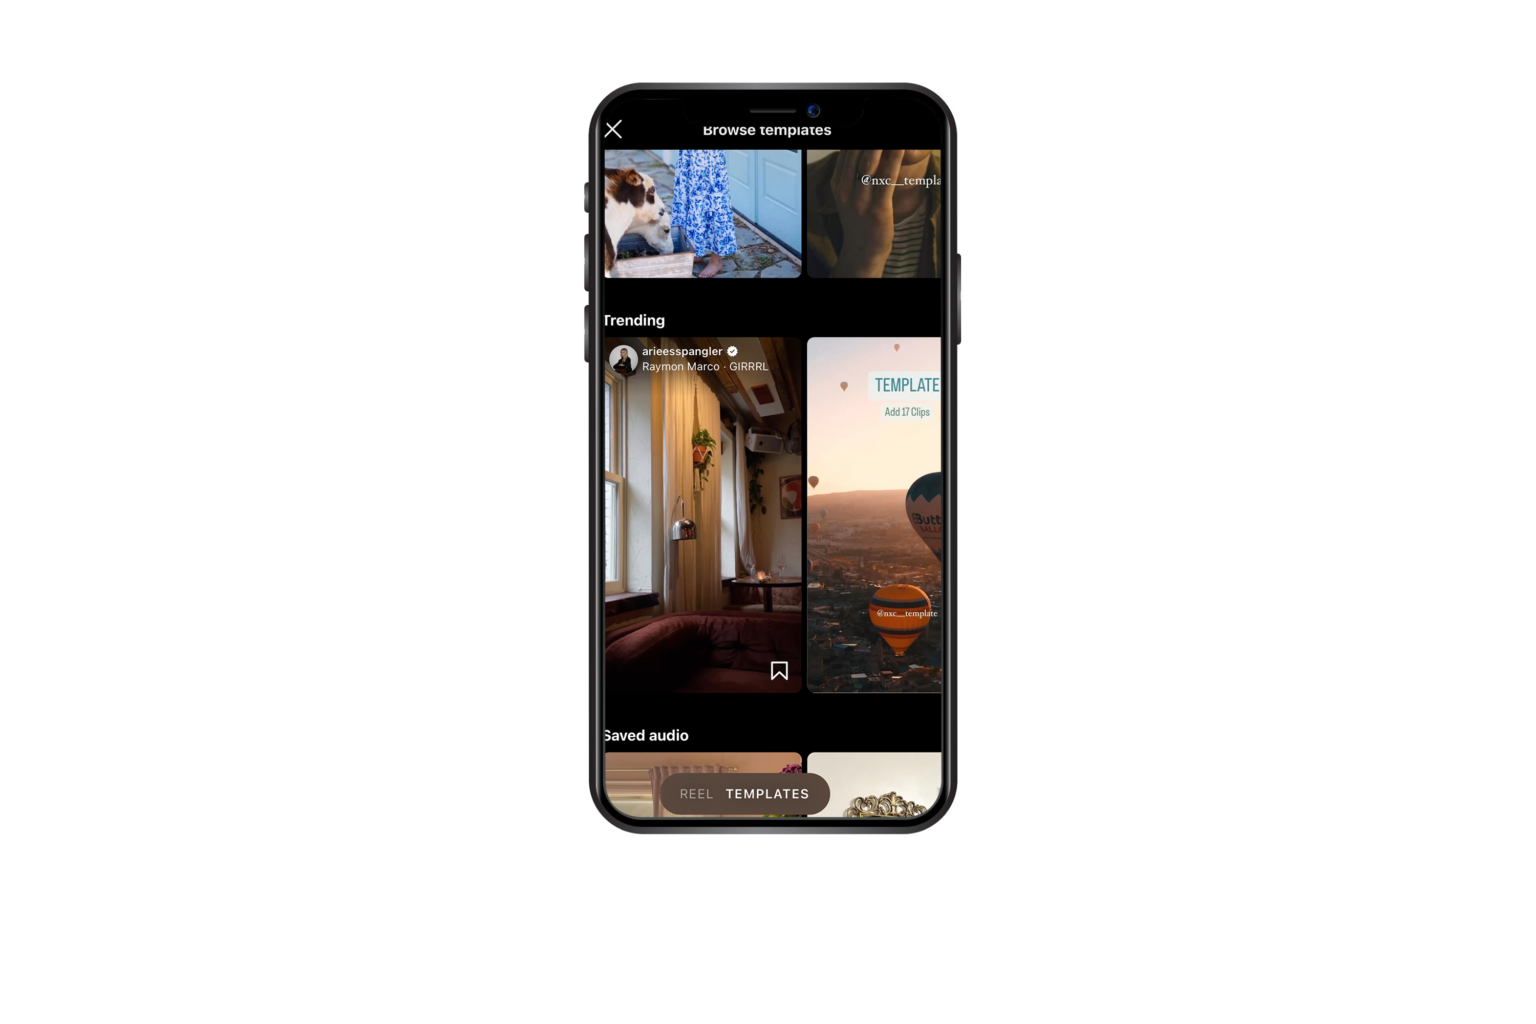
At the bottom of the Creator Dashboard, tap on “Templates” to access the library. In the library, you’ll encounter several sections:
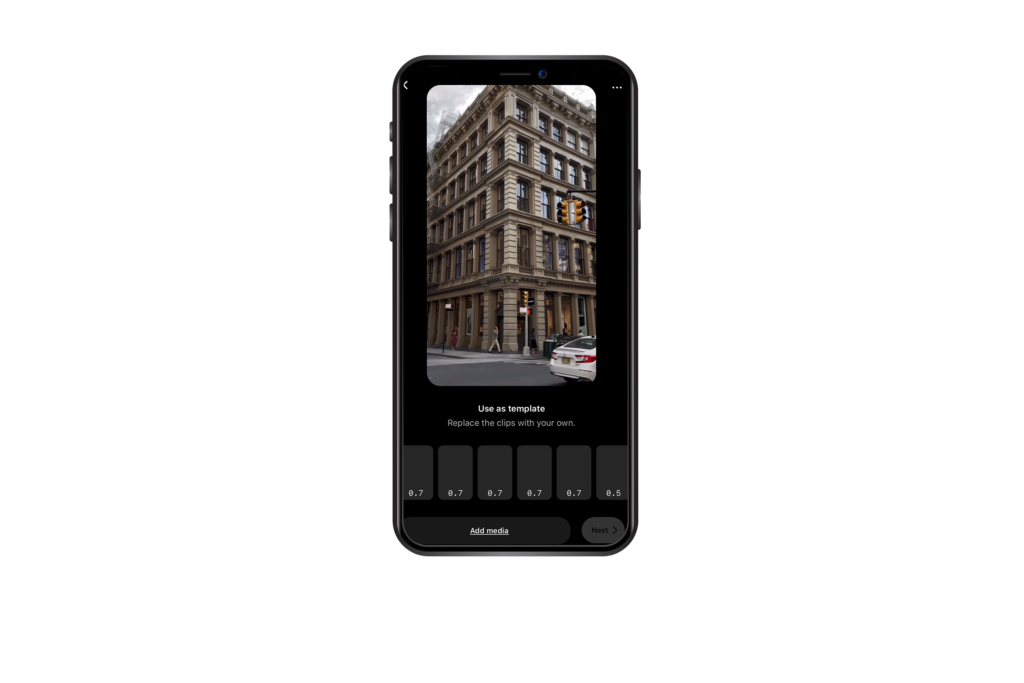
After choosing a template, tap on it to open the editor. The template will appear at the top, and there will be empty slots below, each marked with a number. This number indicates the length that each clip will be within the reel. Tap on the first slot and add your first image or video, repeating for each slot. Note: the number on each image you’ve selected indicates the sequence of images in the Reel.
Remember to observe how the original creator used the template. If they used a mix of videos and images, try to emulate that with your content.
Once you’ve added all your media, tap the arrow button to proceed to the final edit window. Here, you can add any additional effects, text, or stickers to the reel. You can also download the reel to your phone for posting on other platforms.
After editing, you’ll arrive at the final window where you’ll add your text caption for the reel. This is where you want to describe your reel, add any additional content, and insert hashtags. Once done, tap “Share,” and your reel will be posted.
Congratulations! You’ve just created an Instagram reel using an existing template. You can download our step by step graphic and a 52 week content calendar template Here