
Mastering Smartphone Photography for Campgrounds: A Guide for Owners
Introduction
Today, let’s dive into the world of smartphone photography for campgrounds, capturing the raw beauty of your park with a gadget you already have in your pocket – your smartphone. Gone are the days when you needed fancy cameras to take stunning pictures. With a few simple tricks and a bit of creativity, your smartphone can become your best tool in showcasing your campground’s charm to the world. Ready to snap some jaw-dropping photos? Let’s embark on this journey of mastering smartphone photography for campgrounds together!
1. Mastering Your Smartphone Camera for Campground Photography
When it comes to smartphone photography for campgrounds, mastering the different settings of your smartphone camera is crucial. First things first, get to know your camera. It’s not just about tapping the capture button; it’s about understanding the features at your disposal.
Exposure: Exposure refers to how much light is allowed to hit the camera sensor. It determines how light or dark your photo appears. In most smartphones, you can adjust the exposure by tapping on the screen and sliding your finger up or down. This changes the brightness level. For instance, if you’re photographing a bright sky, you might need to reduce the exposure to avoid overblown, white areas in your photo.
Focus: Focus is about what part of your photo is sharp. When you tap on your smartphone screen, the camera will focus on that area, making it look sharp while possibly blurring the background. This is especially useful for close-up shots of objects at your campground, like flowers or interesting textures, where you want the subject to be clear and the background to be softly out of focus.
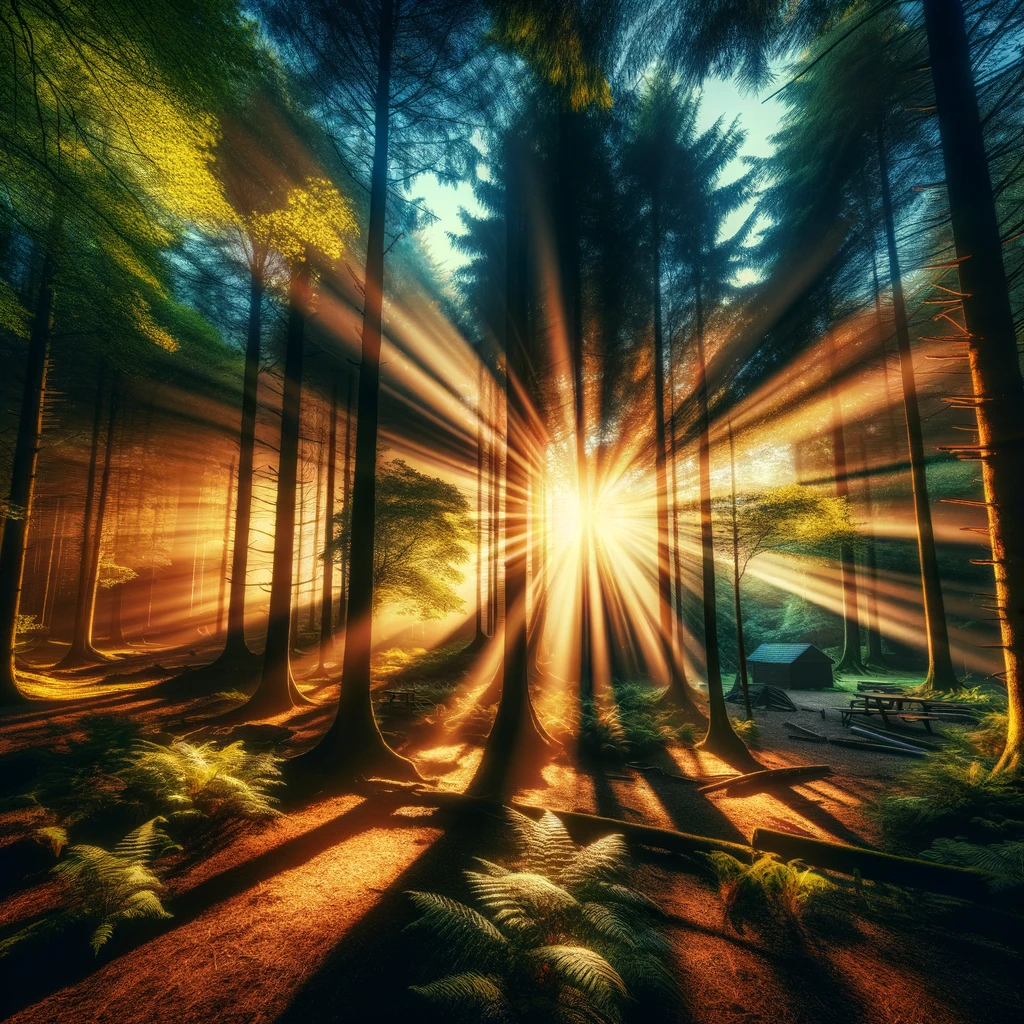
HDR (High Dynamic Range): HDR is a feature that helps balance the light in photos with high contrast. It takes multiple shots at different exposures and combines them into one image. This way, both the light and dark areas of the photo are visible and well-detailed. HDR is great for scenes where you have a mix of shadows and bright spots, like a forest scene with patches of sunlight streaming through the trees.
Understanding and experimenting with these settings can significantly improve the quality of your smartphone photos, especially in the diverse lighting conditions you’ll encounter in a campground setting.
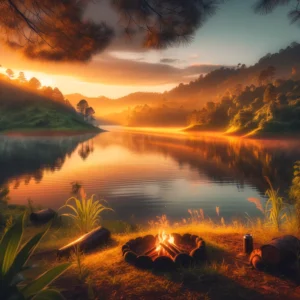
2. Golden Hour Magic
Timing is everything!
The golden hour – that dreamy time just after sunrise or before sunset – provides soft, warm lighting that can make your campground look magical. Perfect for capturing those serene lake views or cozy campfires!
3. Composition is Key
Follow the rule of thirds – imagine your image is divided into nine equal segments by two vertical and two horizontal lines. Try to position the most important elements in your scene along these lines, or at their intersections. This technique adds balance and interest to your photos.
To make this even easier you can set the grid on your phone.
Settings>Camera>Grid
Launch camera>Settings>Grid Lines
4. Embrace Different Perspectives
Don’t just stand and shoot. Climb a hill, get low to the ground, or find a unique angle. Showing your campground from various perspectives can really bring out its unique character.
5. Capturing Movement
Got a flowing river or rustling leaves? Capture their motion by experimenting with your camera’s shutter speed. A slower shutter speed will blur the motion, creating an artistic effect, while a faster speed will freeze the action. Dont forget to stay still when slowing down the shutter speed!
6. Don't Fear Editing
Editing can transform good photos into great ones. Use apps like Snapseed or Lightroom Mobile to adjust brightness, contrast, saturation, and sharpness. Many of these settings can also be done natively on the phone. When reviewing your photos just click “Edit” to begin adjusting the settings on your photo. Remember, the goal is to enhance the photo’s natural beauty, not overshadow it.
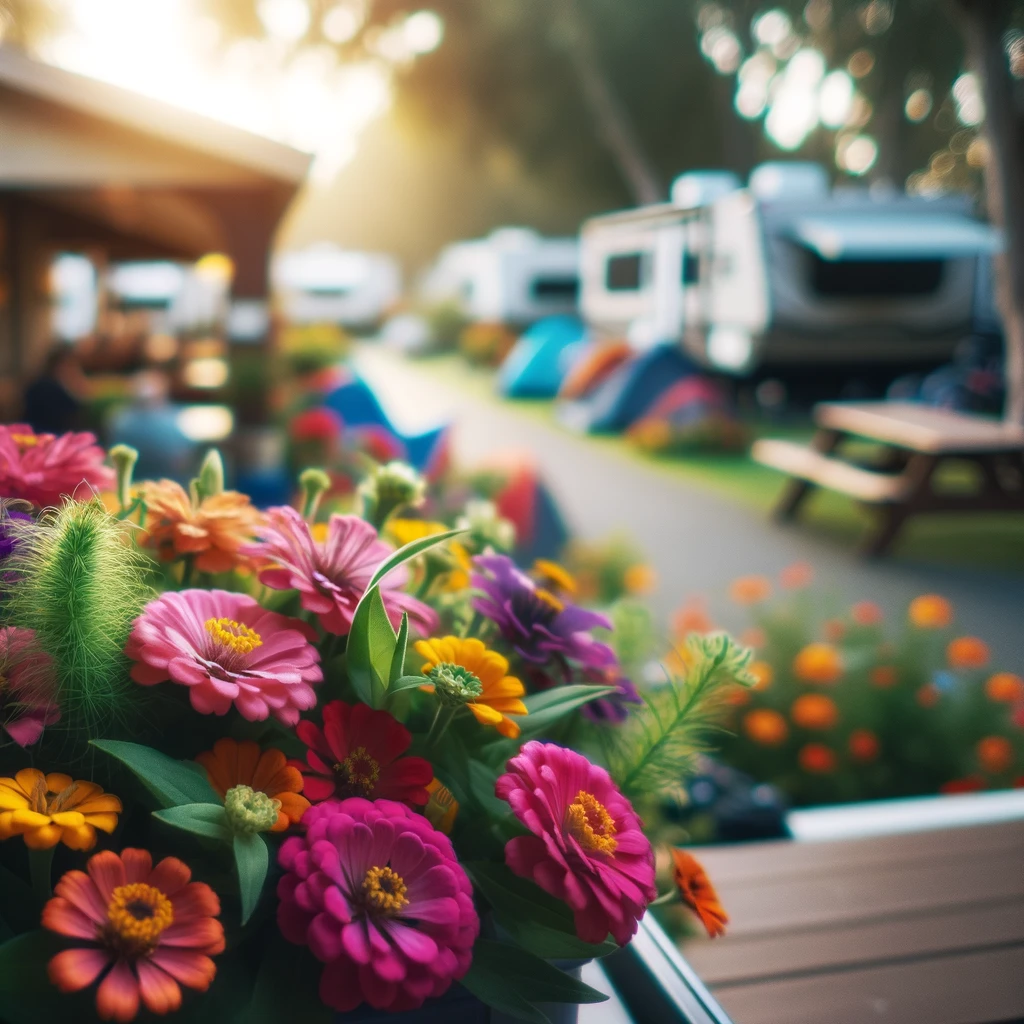
7. Showcase the Campground's Best
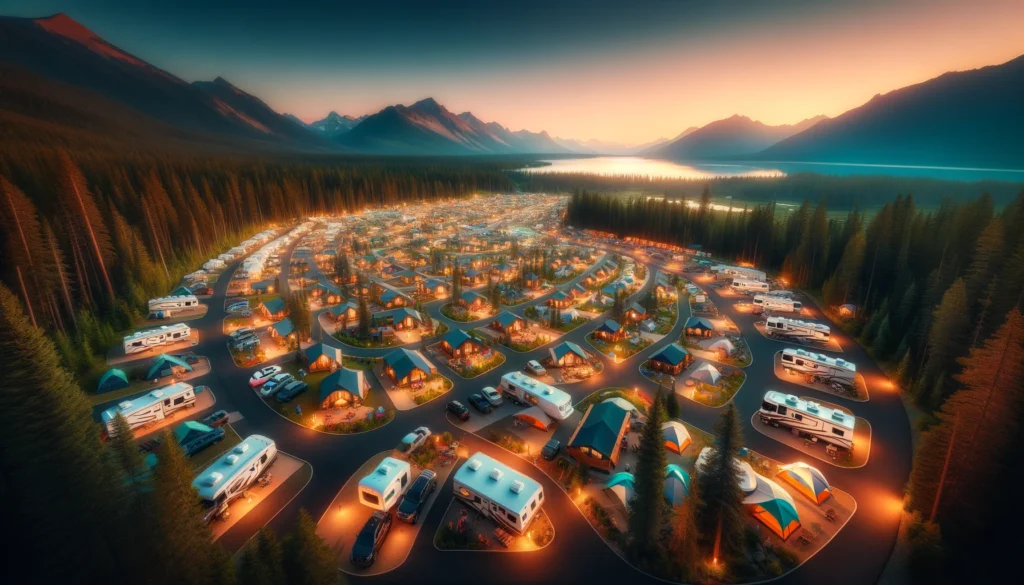
Highlight what makes your campground special. Is it the starry nights, the wildlife, or the hiking trails? Make sure these features are front and center in your photos. But don’t stop there, guests want to see your campsites and lodging. Taking pictures of your sites throughout the year will give guests an accurate representation of what to expect when they pull in.
8. Consistency in Style
Developing a consistent editing style for your photos is crucial for branding. Here are a few styles you might consider, each bringing a unique feel to your campground’s imagery:
- Vibrant and Colorful: This style emphasizes bright, vivid colors. It’s great for making greens of trees and blues of skies pop, creating an inviting and lively feel. Use this style to highlight the natural beauty and vibrancy of your campground.
- Warm and Rustic: By adding warm tones, like oranges and browns, you can create a cozy, rustic feel in your photos. This style suits campgrounds that offer a traditional, nature-focused experience, giving a sense of warmth and welcome.
- Cool and Moody: A cooler color palette, with emphasis on blues and greens, can give your photos a serene, tranquil mood. This style works well for campgrounds located in mountainous or forested areas, giving a sense of calm and solitude.
- Vintage or Retro: Using filters that add grain, fade colors slightly, or mimic old film types can give your photos a nostalgic, retro feel. This style can evoke memories of classic camping trips, appealing to a sense of tradition and timelessness.
- Minimalist and Clean: Emphasizing simplicity in color and composition, this style focuses on clean lines and uncluttered imagery. It works well for highlighting the peacefulness and simplicity of the camping experience.
- High-Contrast and Dramatic: This style involves deep shadows and bright highlights, creating a sense of drama and intensity. It’s effective for showcasing the rugged or wild aspects of your campground, especially for adventure-themed parks.
Remember, consistency in your editing style will help create a recognizable brand image. Whether it’s on your website, social media, or promotional materials, this uniformity in visuals helps build a strong and memorable brand identity for your campground.
9. Practice Makes Perfect
The best way to get better? Practice, practice, practice. The more you shoot, the better you’ll get at capturing the essence of your campground.
10. Engage Your Campers
Encourage campers to share their photos. It’s a fun way to engage your community and can provide you with authentic, diverse perspectives of your campground.
Wrapping It Up
Well, there you have it – essential tips and tricks for mastering smartphone photography for campgrounds. These strategies will not only enhance your campground’s social media pages and websites but also showcase its natural beauty through stunning smartphone photos. With a bit of practice and a dash of creativity, you’re all set to capture the unique allure of your campground and attract nature lovers from everywhere. So, grab your phone and start snapping some beautiful pictures that reflect the best of your campground!
FAQs
Q: Do I need a high-end smartphone for good quality photos?
A: Not necessarily! While high-end smartphones often come with advanced camera features, you’d be surprised at how capable mid-range phones can be for photography. The key is understanding how to use the camera’s features to their fullest potential. Techniques like proper framing, understanding lighting, and post-processing can dramatically improve the quality of your photos, regardless of whether you’re using a flagship model or a more budget-friendly option. It’s more about the photographer’s skill and creativity than the hardware in hand.
Q: Is editing important in smartphone photography?
A: Definitely. While it’s crucial to capture the best photo you can in-camera, editing plays a significant role in enhancing your images. Think of editing as the finishing touch that brings out the best in your photographs. You can adjust exposure, contrast, saturation, and sharpness to highlight the photo’s strengths and minimize any flaws. However, it’s important to strike a balance – over-editing can make your photos look unnatural. The goal is to enhance the natural beauty and feel of your campground, not to alter it completely. Editing tools are there to help you refine and define your photos to better convey the atmosphere and allure of your campground.
Q: How do I handle challenging lighting conditions in my campground photos?
A: Great question! If you’re dealing with harsh sunlight or dark shadows, try using HDR mode on your phone. It’ll balance the lighting for you. On super bright days, find some shade or wait for a cloud to soften the light. Early mornings or late afternoons also offer softer, more forgiving light.
Q: What are some good photo subjects in a campground besides landscapes?
A: There’s a whole world out there! Snap pics of unique details like close-ups of leaves, bark, or campfire flames. Capture moments like friends laughing around a fire pit or a family heading out on a hike. Don’t forget the small things like the texture of a picnic blanket or the pattern of a walking trail. These details add depth and a personal touch to your campground’s story.